This article provides a walkthrough of Channeltivity's User Interface, taking you through key navigation elements and controls.
Page Structure
Once you're logged into Channeltivity, the general page structure consists of the main navigation icons on the left and a header bar with the utility navigation in the top right corner.
Main Navigation
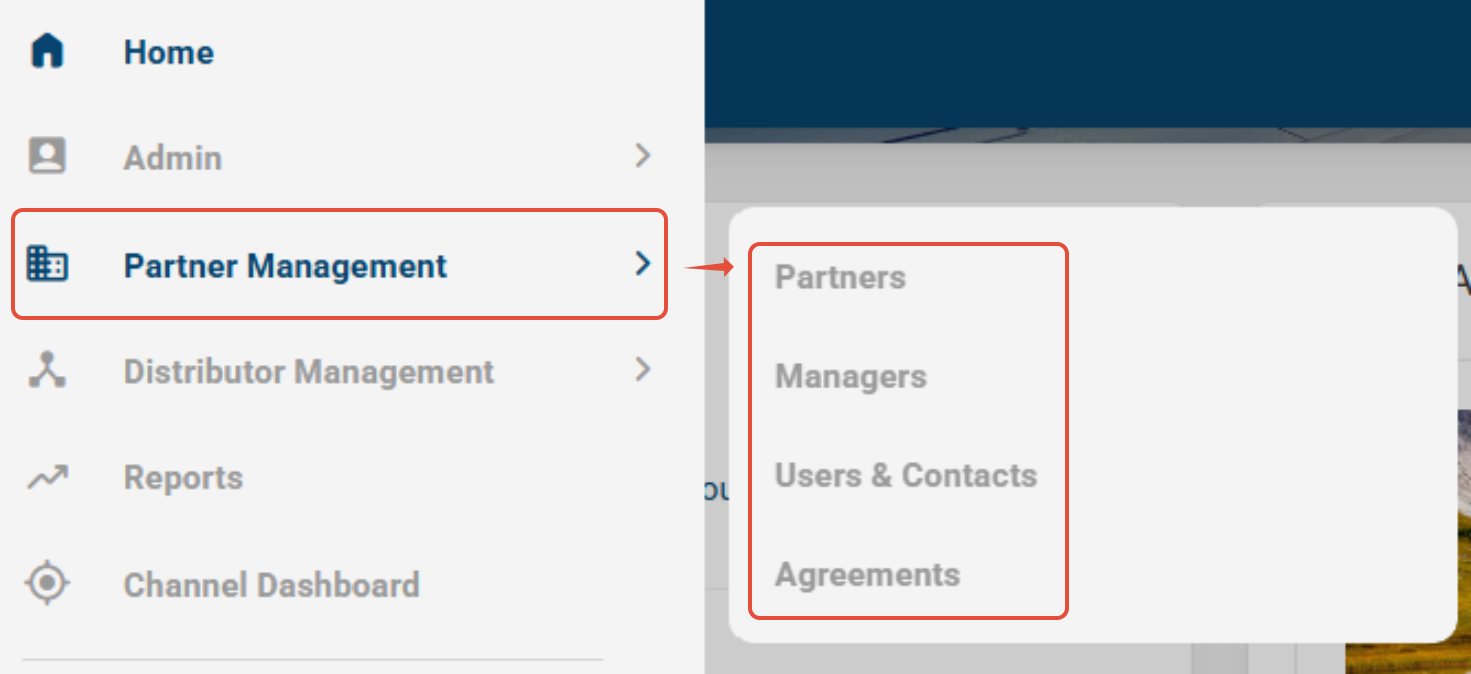
When viewing a page, click the title of the page in the breadcrumbs to navigate to subpages and links. 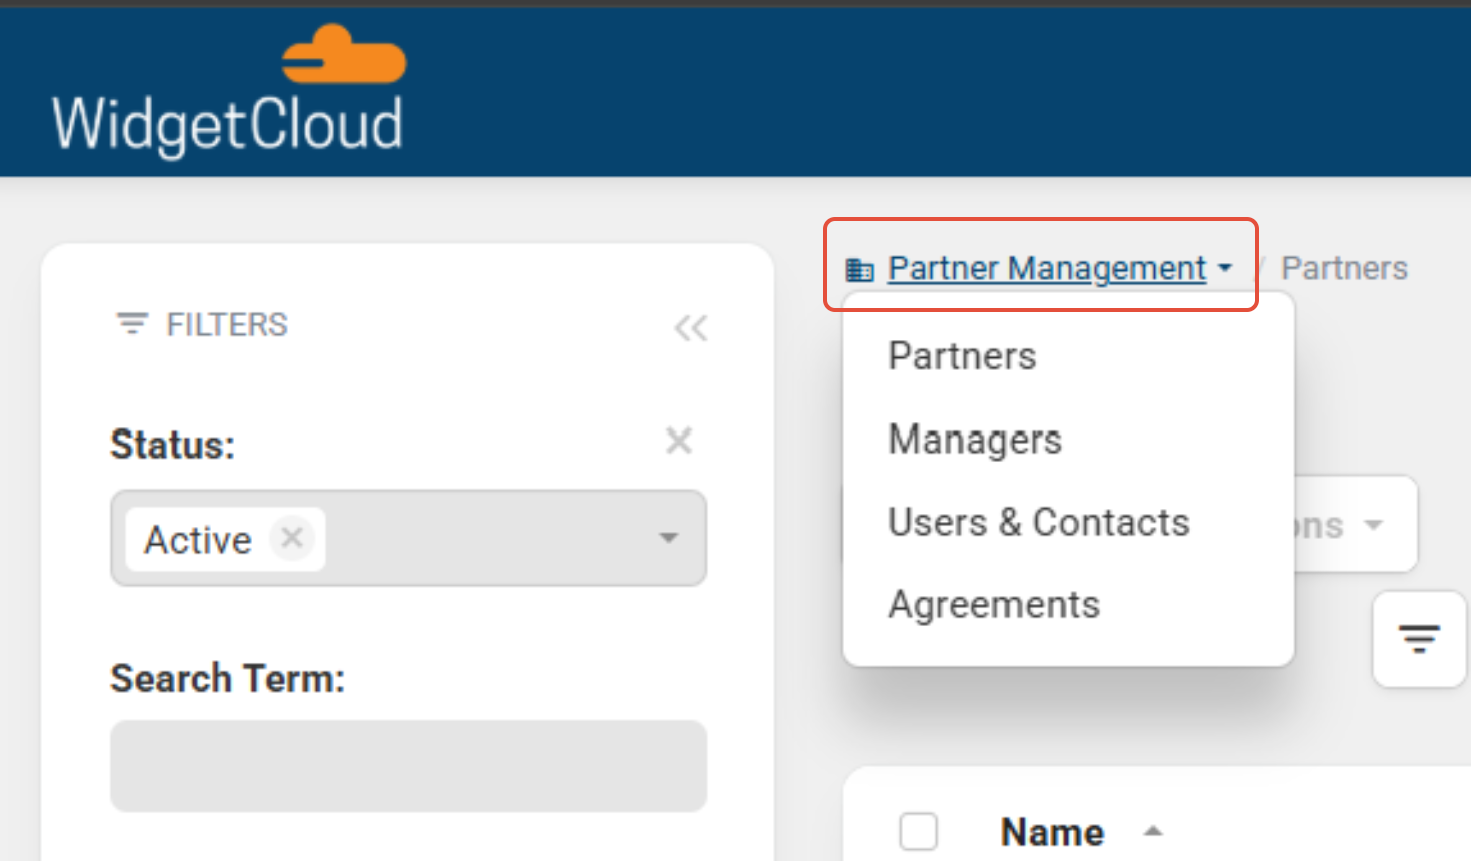
Utility Navigation
The utility nav is in the top right corner and includes a number of useful functions and controls:

- The global search icon (magnifying glass), which allows you to search everything in the portal from one spot.
- The help link (question mark), which works differently depending on who you are: If you’re a regular User, it’ll just link to the contact box, but if you’re an Admin, it’ll also show you Channeltivity support information.
- The messages (bell) icon, where any active system messages appear including items such as User Requests and unassigned Leads.
- The settings (gear) icon links to the settings area as well as the Integration Log and Email Log.
- Clicking the profile icon reveals links to update your User and Organization Profiles, manage Email Settings, select your preferred language, request additional Users, and log out.

Settings

The settings area contains settings to all modules and features. You can scroll through the whole list of settings or quickly find the setting by typing its name or keyword in the "Filter All Settings" search box, or you can click into the categories on the left.
Lister Pages
There are a number of reports and lister pages in Channeltivity. Lister pages are pages that include filters on the left and a list of results on the right. Lister pages can be customized to your liking by adding, removing, and rearranging columns. All of the lister configuration options are accessible through the controls in the top right corner.


You can specify your search criteria using Filters on the left. Click the "Add Filter" button to select an option from the Filter menu and then click the "Apply Filters" button to refresh the results. 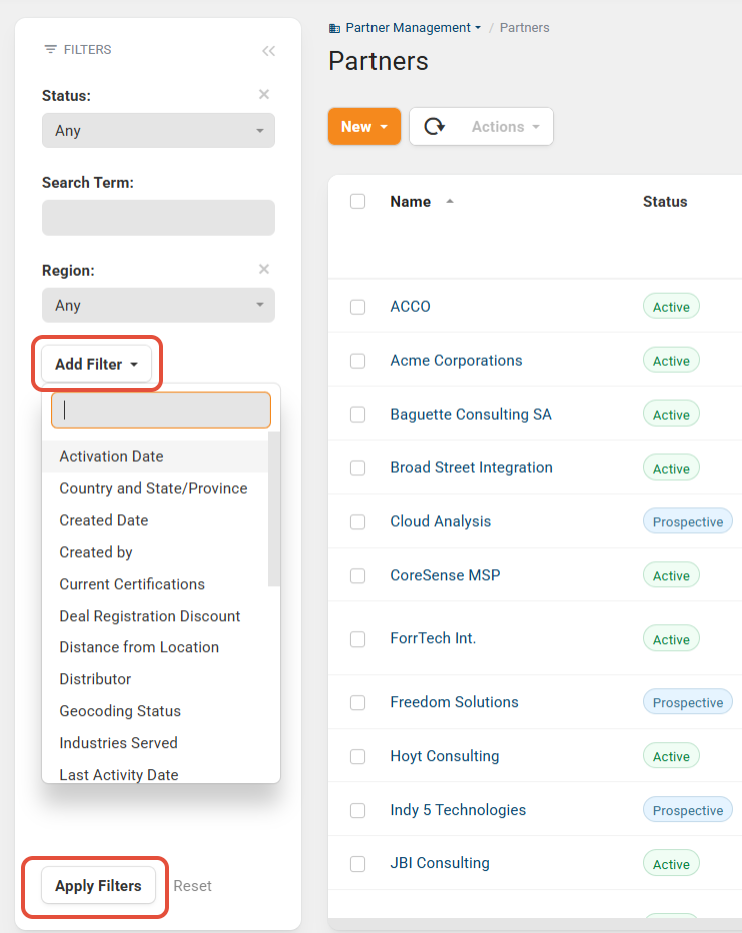
Some listers allow you to perform bulk operations by selecting the checkboxes next to the items you want to make changes to and selecting the "Actions" button. 
Learn more about lister customization options and reporting here: How do I use Dynamic Reporting to create custom reports and Views? and How do I use Analysis View to Create Custom Chart and Pivot Table Reports?.
Details Pages
Details pages in Channeltivity have a number of common design elements that will help you navigate your partner portal:
- The record type is displayed next to the title of the record at the top of the page.
- Depending on your permissions, you might also see the "Edit" and "Actions" buttons.

Was this article helpful?
That’s Great!
Thank you for your feedback
Sorry! We couldn't be helpful
Thank you for your feedback
Feedback sent
We appreciate your effort and will try to fix the article