This article gives step-by-step setup instructions of Channeltivity’s Deal Registration PRM integration with Salesforce. An overview of Channeltivity’s Deal Registration Salesforce Integration can be found in this article.
Step 1: Setup Salesforce Fields
Create the below checkbox fields on the Lead and Opportunity objects in Salesforce. The fields will be used by Channeltivity to flag/identify the Salesforce records that are syncing with Channeltivity.
- Create a checkbox field “Sync with Channeltivity” on the Lead object in Salesforce
- Create a checkbox field “Sync with Channeltivity” on the Opportunity object in Salesforce
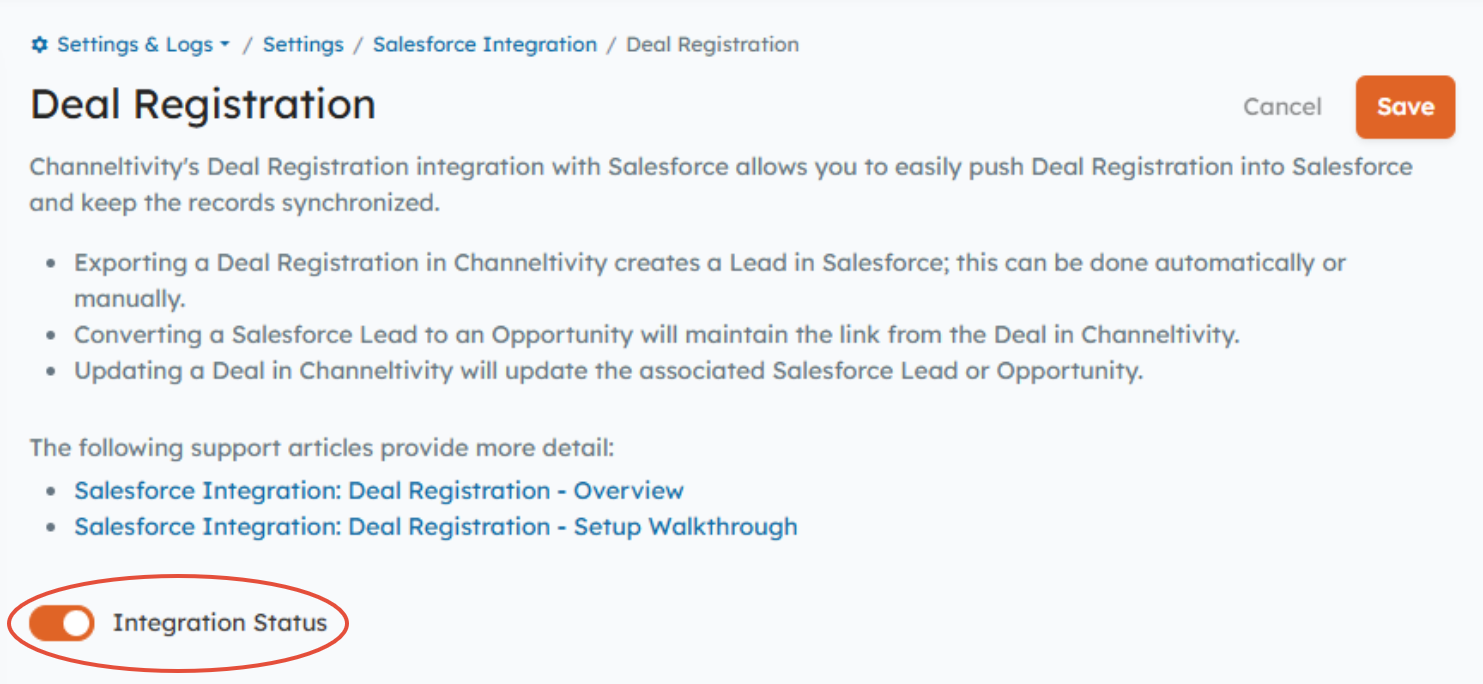
Step 2: Enable the Integration in Channeltivity
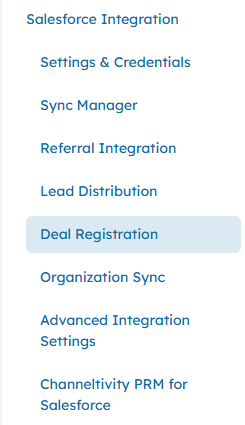
Enable the integration by flipping the Integration Status switch to the ON position:
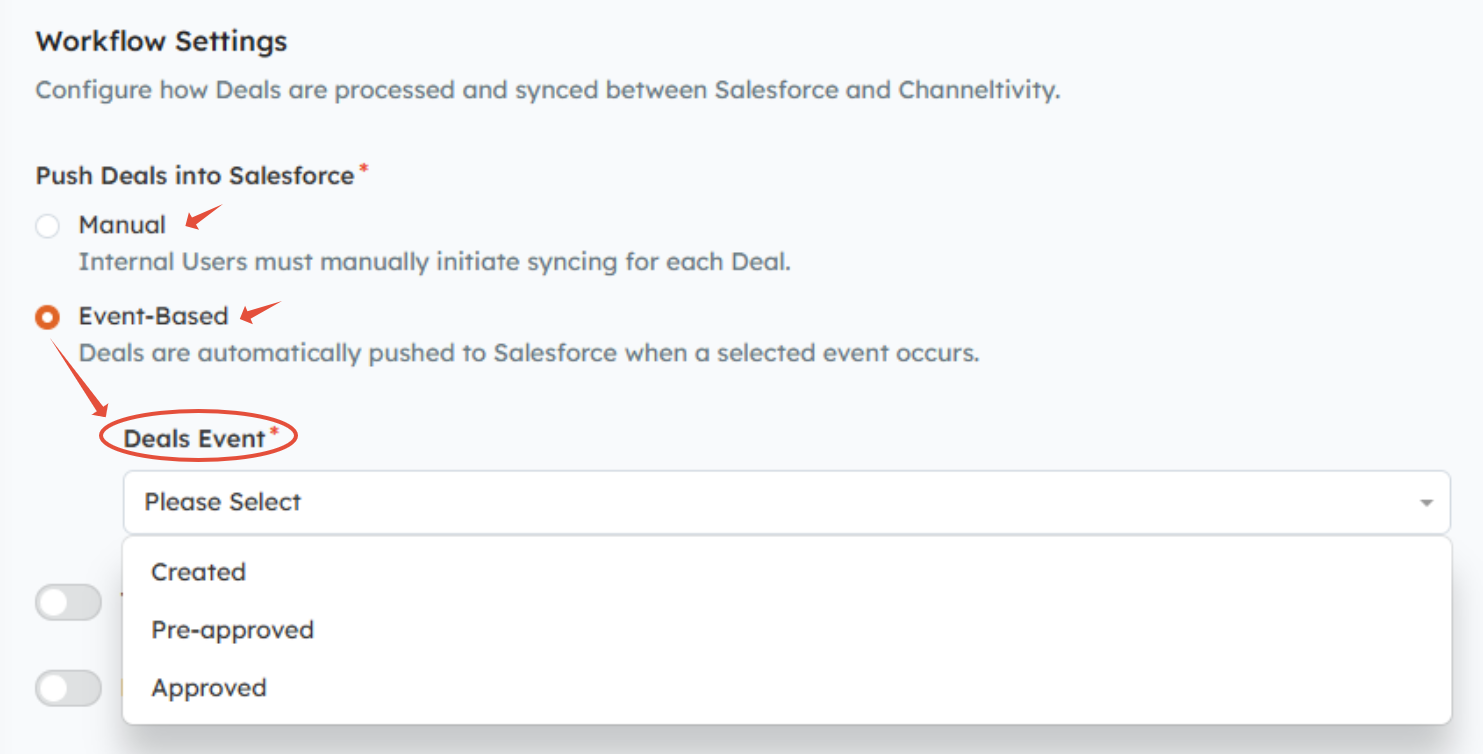
Step 3: Configure the Workflow Settings:
Push Deals into Salesforce:
Choose whether you want to manually push Deals to Salesforce or have them sync automatically based on a specific event:Event-Based (Automatic): Deals are automatically synced to Salesforce when a selected event occurs:
- Created
- Pre-Approved
- Approved
Opportunity Creation Based on Contact Match (Optional):

Import Salesforce Opportunities into Channeltivity as Deals (Optional):
If you're looking to import existing Opportunities from Salesforce or create Deal Registrations based on automatic renewal Opportunities in Salesforce, head over to How do I create Deal Registrations from Salesforce Opportunities in my PRM? after completing the steps in this article to configure the Deal import integration.

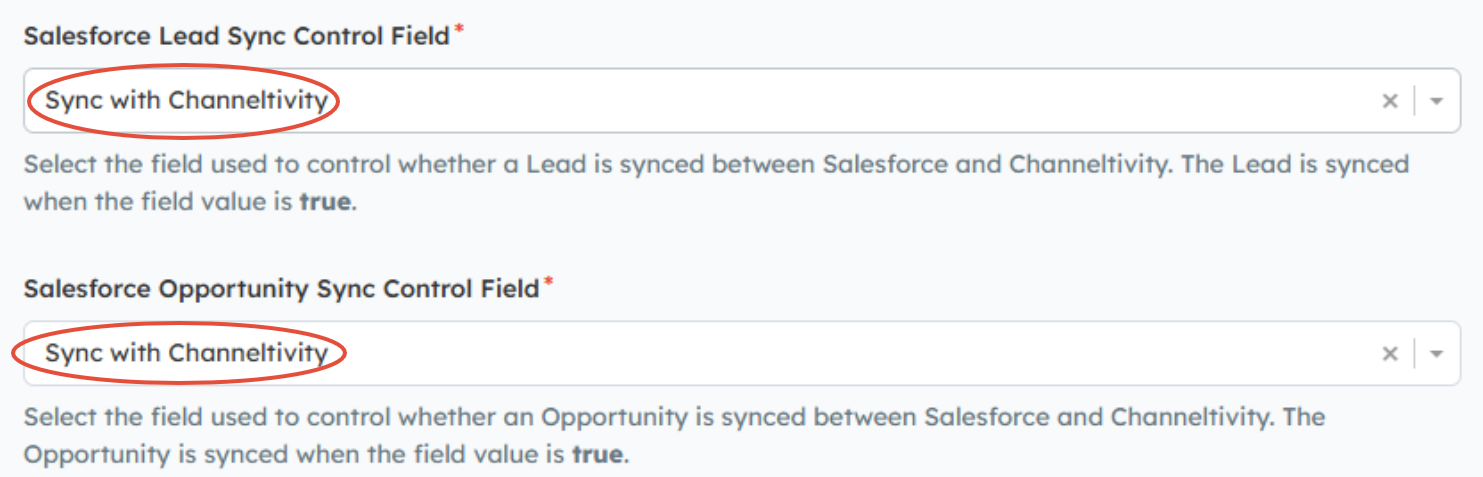
Salesforce Lead and Opportunity Sync Control Fields:
Select the "Sync with Channeltivity" fields you created in Salesforce on the Lead and Opportunity objects in Step 1 from the dropdown menus:
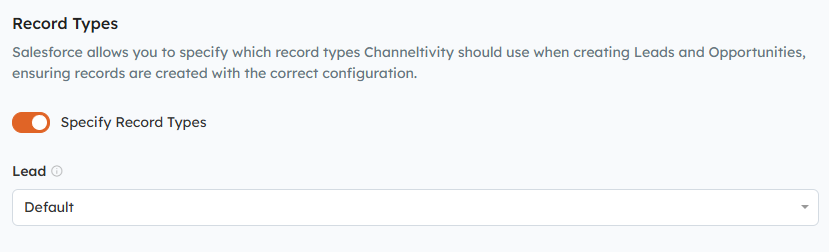
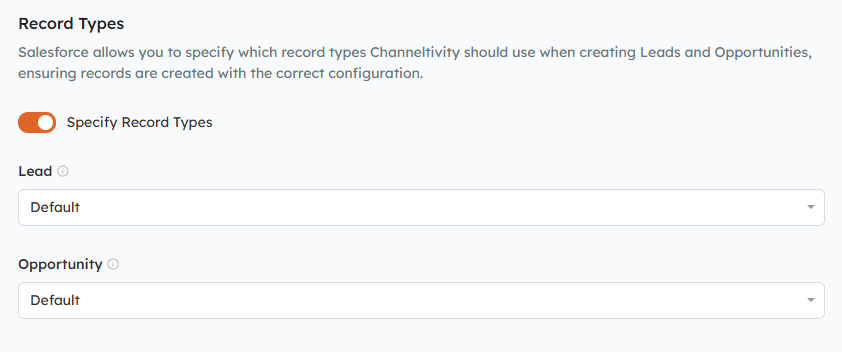
Step 4: Specify Record Types (Optional)
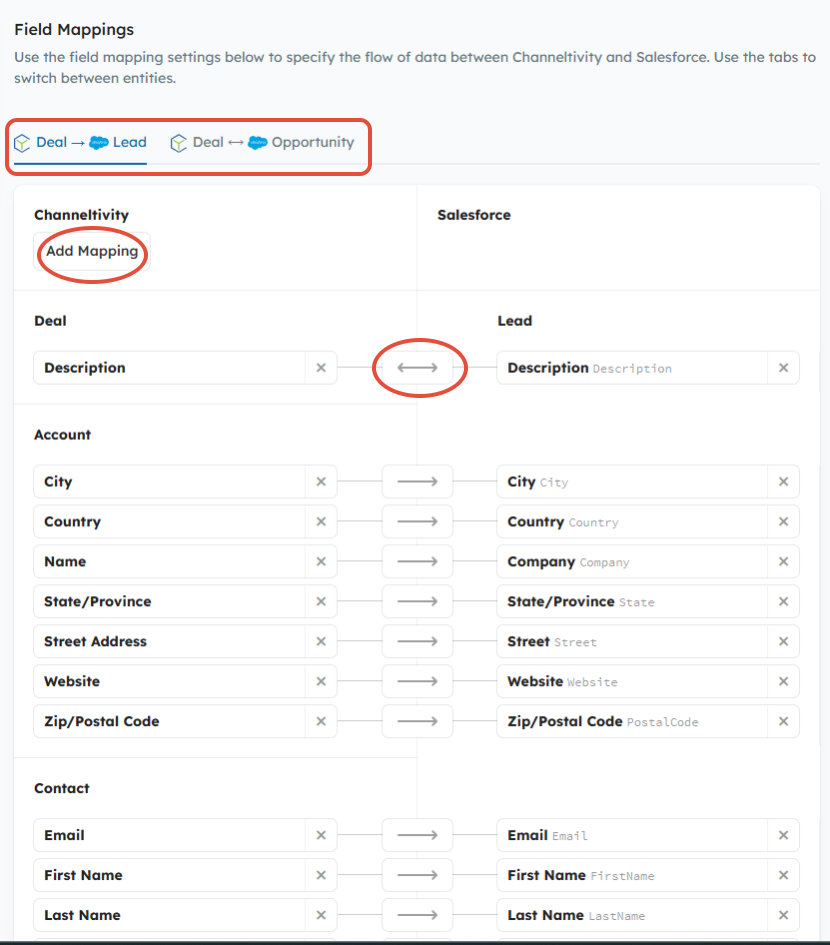
Step 5: Configure Field Mappings
Scroll down to the Field Mappings section, where you will specify the flow of data between Channeltivity and Salesforce. You'll see two tabs:
- Deal to Salesforce Lead
- Deal to Salesforce Opportunity
Once all your mappings are complete, press the "Save" button at the very bottom of the page to finish the setup process. Depending on the details of your Salesforce configuration and whether you're creating new fields in Salesforce as part of the process, the saving process can take up to 30 minutes. When the setup process is complete, you will be redirected to the Salesforce Integration Settings page.
Step 6: Test the Integration
You're all set! Go ahead and submit a Deal Registration to test out the integration between your Channeltivity PRM and Salesforce CRM.
Was this article helpful?
That’s Great!
Thank you for your feedback
Sorry! We couldn't be helpful
Thank you for your feedback
Feedback sent
We appreciate your effort and will try to fix the article